After researching Ansel Adams background and work, I decided to experiment with HDR, a technique which Adams often experimented with through the use of the Zone System. The outcome was expected to be differently as this would be carried out differently, through the use of a digital camera and Photoshop to combine the layers. The technique would involve taking 3 different photographs in the exact same position, these would be different due to the exposure levels, exposed, overexposed and underexposed.This would allow me to adjust the outcomes by altering the levels of brightness and exposure. Whereas Adams was unable to do this and was unable to predict how the final outcome would appear.

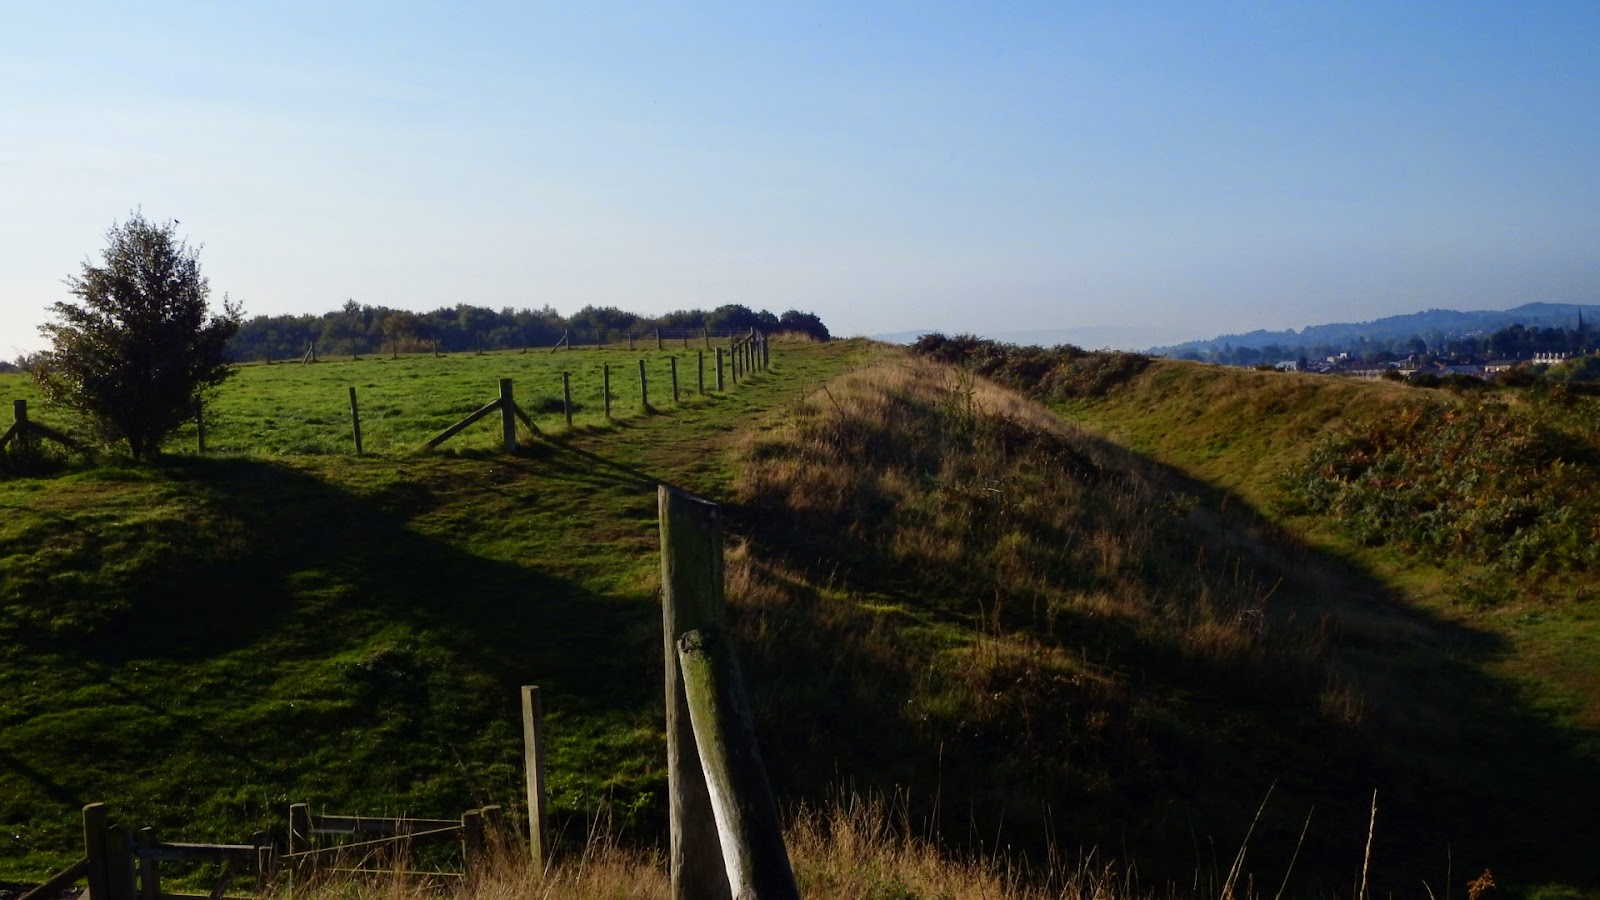
Exposed
The photographs brightness is very subtle therefore the shadows created within the photograph are also very subtle. Due to the quality of the photograph being average the detail within the photograph is very low such as the grass and the different tones within the photograph. Lines can be found within the photograph such as the outline of the grass, the wooden fence and the grass. The lines also allow to capture the vanishing point of the scene. The photograph focuses on capturing the lines within the scene such as the grass area and wooden fence, to show a sense of direction and depth within the location and as a result I felt that this would be a suitable location to experiment with HDR.

Under Exposed
This version is an under exposed photograph due to too much light being captured within the photograph which decreased the detail of the photograph. The detail within this photograph is also very low due to too much light within the photograph. The colour palette is also very limited and this is also because there is too much light in the photograph therefore the colours are often repeated. Due to the lack of detail and colour this decreases the amount of tones used within the photograph for example on the fence. The amount of light captured also impacts the shadows found within the photograph and the light gives the photograph a hazy appearance.
Over Exposed
This is an overexposed photograph due to the colours being dark and hardly any light being captured. Most areas of the photograph is dark however some shadows can be seen within the photograph. The detail of the photograph is again low and this is due to not enough light being let in within the photograph. Therefore the colour palette is also restricted due to not enough light being captured and gives a dark appearance. Due to the photograph being extremely dark this has resulted in a lack of detail and makes the grass area have a soft texture.

When editing this photograph I wanted to create a dark tones and shadows to highlight different areas of the photograph. Therefore the brightness of this photograph was slightly low to create the shadows within the photograph. The shadows captured within the photograph allow the photograph to have a sense of depth within the grass areas. There is contrast found within the photograph due to the light captured which is mixed with the darkness from editing the photograph. The balance of light and colour allows the photograph to have a variety of tones and highlighted areas which creates depth within the photograph. This effect gives a dynamic feel to the photograph and allows the photograph to stand out rather being a static photograph.

This show the development in experimenting with editing different photographs taken at different exposures within Photoshop. This involved combining the photographs together and changing the levels and exposure to create different outcome.
The photograph shown above has a high amount of brightness levels which gives the viewer the impression that the photography was taken in early hours. The photograph captures the distance as it shows the field getting narrow towards the end. The colour palette within this photograph is very limited however not as limited as the previous photograph. The colours are often repeated especially green and different shades can be found due to the angle and light captured within the photograph. As well as focussing on capture the scenery and the vanishing point the aim of this is to focus on the use of colour and how this impacts the overall outcome. The exposure and the brightness levels give the photograph a soft contour and this gives it a painting like appearance.
No comments:
Post a Comment